Air hockey is a game that people of all ages enjoy. It is a fast-paced and exciting game that can be played indoors or outdoors.
One of the most frustrating things about air hockey is when the puck starts to float on the table’s surface.
This is commonly referred to as “bubbling.”
If you’re an avid air hockey enthusiast, you already know just how vital the airflow is for floating that puck.
But did you also know that it’s possible to fix bubbles on your table and repair holes in your air hockey table?
Don’t let a few bumps or scratches stop you from playing – with a few steps, you can quickly deal with these issues yourself!
So why not give it a shot?
Why do air hockey tables get bubbles?
Inadequate airflow can cause these bubbles, but they can be easily avoided with proper maintenance.
Keep an eye on the nozzles, clean and dry the surface regularly, and always glue or fix any damaged areas.
With regular maintenance, you won’t have to deal with these pesky bubbles anymore – instead, you’ll enjoy a better playing experience than ever!
How to fix bubbles on an air hockey table – it’s easier than you thought!
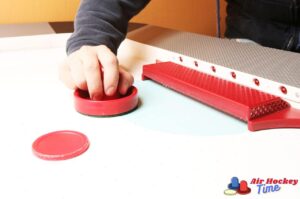
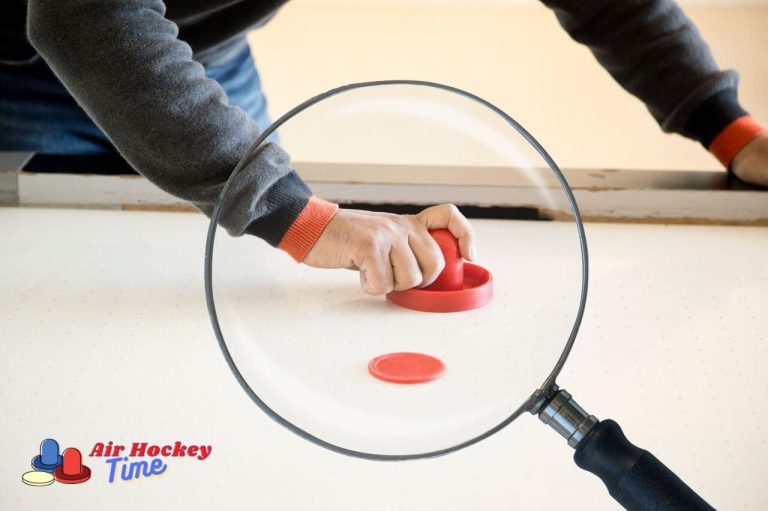
Need to fix those pesky bubbles on your air hockey table?
It’s easy – grab a sharp-edged object, such as a blade, and puncture the bubbles to get rid of them.
Make sure you’re thorough in searching for hidden bubbles too, and you should be done in no time!
However, remember that regular maintenance is much better than repairing an air hockey table – So make sure to do proper upkeep of your table to avoid any problems!
Keep the Fun Alive – Proper Maintenance of an Air Hockey Table
Now that you know how to fix bubbles on an air hockey table, keep up with regular maintenance!
After all, if you want to keep the puck flying and keep that game going with no bubbles, you have to ensure your air hockey table is in tip-top condition.
That way, you won’t have a situation where you need to reach for that sharp edge and puncture those bubbles – instead, your game will be smooth sailing from start to finish.
But how do you keep it in good condition?
That means cleaning your table regularly, checking for damaged areas, holes, or dead spots, and ensuring the blower works correctly.
So follow these steps, and you should be able to keep those bubbles at bay!
Here is a step-by-step guide:
Clean your air hockey table from time to time
Check the nozzles for blockage and ensure they are free of dust and dirt.
Look out for any visible damages or holes in the table, and either repair it with glue or cover it up with a piece of paper to prevent air from leaking out.
Vacuum the playing surface, and always ensure it’s dry before you start playing.
For more information, please read my how-to-clean the air hockey table guide.
Take care of the air blower!
The air blower is one of the essential parts of your air hockey table, and if it’s not working correctly, you’ll have a hard time getting the puck to float.
Check the blower for any blockages or dust buildup, and give it a good dusting if necessary.
Don’t forget to always look for dead spots.
Or places where the air is not distributed correctly, and adjust the blower accordingly.
First, use something narrow and cotton-like to clean the holes.
If you’re still not feeling a breeze, whip out your drill machine and work on those troublesome areas with a little drill bit.
After you’ve done all that drilling, be sure to tidy up for optimal airflow and get back in the game!
In conclusion
With a little effort and maintenance, you can keep your air hockey table in great shape and avoid pesky bubbles.
So don’t miss out on all the fun – Make sure to follow these steps, and you’ll have smooth sailing for years to come!
Let me know in the comments below how you keep your table bubble-free. I’d love to hear from you!
And don’t forget to check my other blog posts for more tips and tricks on maintaining and repairing your air hockey table.
Until then, happy playing!